
10 Easy Ways to Organize Your Craft Room on a Budget
Do you love crafting but struggle to keep your supplies organized? From colorful paper and paintbrushes to sewing tools, yarn, and beads, craft supplies can quickly take over your workspace. The good news is that you don’t need expensive furniture or storage systems to create an organized craft room. With a little creativity and a few affordable solutions, you can transform your space into a tidy, inspiring place to work. Here are ten easy ways to organize your craft room on a budget!
1. Repurpose Containers You Already Own
Before purchasing new storage, look around your home for items you can reuse. Empty jars, shoeboxes, food containers, and small baskets can become practical organizers for your supplies. Use jars for buttons, beads, and paper clips, while shoeboxes are perfect for storing fabric scraps and unfinished projects. Repurposing household items saves money and gives everyday objects a useful second life.
2. Organize Art Supplies in One Place
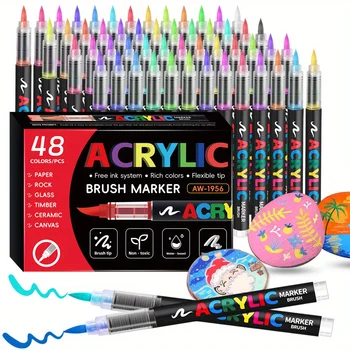
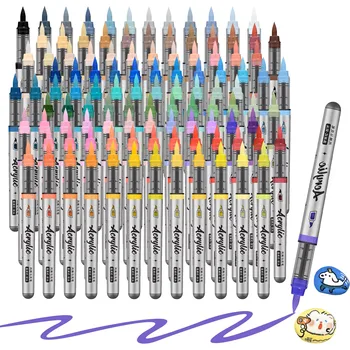
Keep markers, colored pencils, paintbrushes, and paints together so you can find them whenever inspiration strikes. Reuse mugs, pencil holders, or recycled cans to separate different tools. Store frequently used supplies within easy reach and place less-used materials in labeled containers.
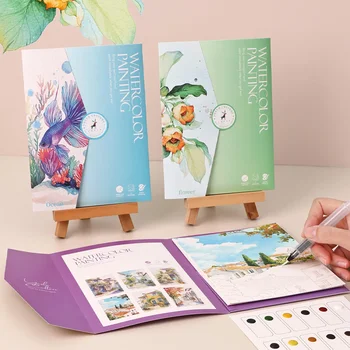
Explore our Art collection for supplies to support your next creative project.
3. Sort Craft Paper by Color and Size
Loose paper can quickly create clutter. Organize cardstock, scrapbook paper, and decorative sheets into folders, magazine holders, or flat storage boxes. Separate paper by color, pattern, or size to make choosing the right material easier. Keep delicate or specialty papers flat to help prevent wrinkles and creases.
Discover materials in our Craft Paper collection.
4. Use Clear Containers for Small Items
Beads, buttons, sequins, and jewelry findings are easy to misplace. Store them in clear jars, divided boxes, or small reusable containers. Group similar items together and label each container so you can quickly locate what you need. Transparent storage also makes it easier to see when supplies are running low.
5. Create an Affordable Sewing Station
Keep needles, thread, scissors, measuring tapes, ribbons, and fabric scraps organized in a dedicated sewing basket or drawer. Use small compartments to separate tools and prevent tangled thread. Fold larger fabric pieces neatly and place smaller scraps in labeled bags or boxes.
Browse our Sewing Tools collection to find supplies for your sewing and fabric projects.
6. Take Advantage of Vertical Space
When your workspace is small, look beyond your desk. Shelves, pegboards, and wall-mounted organizers can hold lightweight supplies without taking up valuable working space. Hang scissors and frequently used tools securely, and place heavier materials on sturdy shelves.
7. Give Yarn and Fabric a Home
Keep yarn in baskets, fabric in labeled bins, and unfinished projects in separate bags or containers. Group materials by color, type, or project to make them easier to find. Store yarn in a clean, dry place away from excessive moisture and direct sunlight.
8. Make Labels for Every Container
Labels help everyone in your household know where supplies belong. Use masking tape, paper labels, or a simple marker to identify boxes and drawers. Include descriptions such as “painting supplies,” “embroidery thread,” or “paper crafts.” Clear labels make cleanup faster and help prevent clutter from returning.
9. Create a Dedicated Space for Each Project
Instead of mixing materials from different projects, assign each one a basket, folder, or storage box. Keep its instructions, tools, and supplies together. When you need to pause a project, you can store everything neatly without losing your place.
Explore our Crafts collection for inspiration and materials for your next handmade creation.
10. Spend Five Minutes Tidying Up
A simple daily routine can make a big difference. Before finishing your crafting session, return tools to their containers, discard scraps you no longer need, organize leftover materials, and clear your work surface. Spending five minutes tidying up can save time and make starting your next project much easier.
Create an Organized Craft Space Without Overspending
Organizing your craft room doesn’t have to cost a fortune. By reusing household containers, sorting supplies, making the most of vertical space, and establishing simple habits, you can create a workspace that is both functional and inspiring.
At Craft Product Market, we’re here to help you discover supplies for your creative adventures, from art materials and craft paper to sewing tools and more. Visit https://craftproductmarket.com/ to explore our collections and get inspired for your next project.
A tidy craft room makes it easier to focus on what matters most: creating something wonderful!



0 Comments